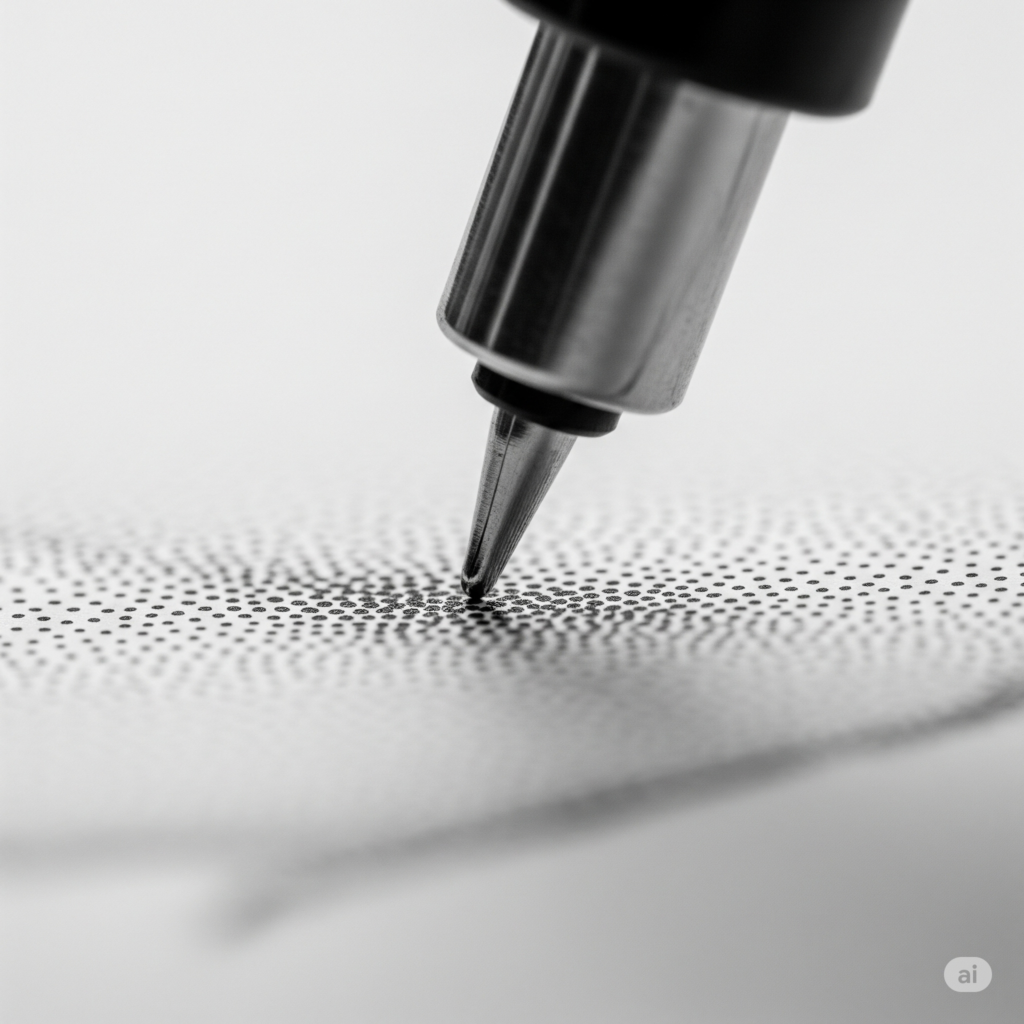
Stippling, at its heart, is the art of creating tone, texture, and depth using nothing but dots. In a world dominated by lines and shading, stippling offers a unique and meditative approach to drawing, yielding results that can range from subtly nuanced to strikingly detailed.

Find stippling art pens
The Essential Tool: Choosing Your Stippling Pen
The humble pen is your primary weapon in the stippling arsenal. However, not all pens are created equal when it comes to the precise application of countless tiny dots. Here’s a breakdown of the best options:
✦ Micron Pens (Technical Pens)
Often considered the gold standard for stippling, these pens use archival-quality, waterproof, and fade-resistant ink. They come in various nib sizes—005, 01, 03, 05, 08—allowing for different dot sizes and densities.
Top Picks: Sakura Pigma Micron, Uni Pin Fineliner, Staedtler Pigment Liner.
✦ Fineliner Pens
Fineliners offer similar precision as Micron pens and are often more affordable and widely available. Look for ones with reliable ink flow and durability.
✦ Fountain Pens
Although not a beginner choice, fountain pens with extra-fine nibs can produce expressive, pressure-sensitive dots. Use waterproof ink for longevity.
✦ Ballpoint Pens
Not ideal for professional stippling due to inconsistent ink flow, but suitable for practice or textured experimental work.
Beginner Tip: Start with a Micron pen set (sizes 01, 03, 05) for versatility in detail and shading.
Mastering the Technique: The Art of the Dot
Stippling isn’t just about placing random dots—it’s a strategic art to replicate light, shadow, and texture.
✦ Density for Value
The more densely packed the dots, the darker the area appears. Wider spacing gives lighter tones.
✦ Dot Size for Texture and Depth
Larger dots can suggest coarser textures or foreground elements, while smaller ones create smooth transitions and background effects.
✦ Layering and Building
Begin with a light dot layer, then gradually build up density in shadowed areas for refined control and smooth gradients.
✦ Consistent Pressure
Ensure even dot size by applying uniform pressure. Avoid dragging the pen.
✦ Subtle Pattern Variation
While consistency is important, introducing slight irregularities prevents the drawing from looking mechanical. Nature isn’t uniform—neither should your dots be.
🔹 Example: Stippling a sphere
The side facing the light gets fewer, widely spaced dots. Moving away from the light, dot density increases, culminating in tight, dense dots in the shadow zone.
Find stippling art pens
The Foundation: Choosing the Right Paper for Stippling
The type of paper used significantly affects stippling results. Look for surfaces that support fine detail and can handle layering.
✦ Smooth Bristol Paper
A classic choice. Its non-textured surface ensures clean dot placement and withstands heavy stippling.
✦ Hot Press Watercolor Paper
Provides a smooth but absorbent surface. Great for detailed ink work or combining with wet media.
✦ Drawing Paper with a Slight Tooth
Light texture offers pen grip without compromising detail. Ideal for experimenting with naturalistic textures.
Pro Tip: Always choose acid-free, archival-quality paper to prevent yellowing and ink bleeding over time.
The Art of Precision: How to Stipple Properly
Perfect stippling comes from planning, patience, and practice. Here’s a structured approach:
1. Plan Your Drawing
Define your subject, light source, and value zones through a pencil sketch.
2. Start Light
Apply sparse dots in lighter areas. Build up slowly to darker tones.
3. Smooth Transitions
Blend dot density gradually to avoid jarring value shifts.
4. Work in Sections
Focus on completing one area at a time to maintain focus and consistency.
5. Take Breaks
Rest your hand and eyes to avoid fatigue. This helps retain precision and consistency.
6. Step Back Often
Evaluate your work from a distance. This helps spot inconsistencies in value or form.
7. Enjoy the Process
Stippling is slow, deliberate, and meditative. Let yourself get lost in the rhythm of the dots.
Find stippling art pen
The Unwritten Laws: Rules (and Guidelines) for Stippling
While stippling encourages creativity, certain principles ensure visual harmony and impact.
- No Lines: Avoid drawing continuous lines. Dots only.
- Intentional Placement: Every dot should contribute to tone, texture, or form.
- Light Logic: Keep your value system consistent with your light source.
- Soft Transitions: Make gradual shifts between light and dark areas.
- Use Negative Space: The untouched paper is part of your drawing—use it wisely.
- Consistent Dot Size: Keep dot size uniform within tonal ranges for cohesion.
- Observation is Key: Study how light and shadow interact in real life.
Example Table: Comparing Stippling Techniques for Different Effects
| Effect | Dot Density | Dot Size | Dot Pattern | Application | Example Subject |
|---|---|---|---|---|---|
| Deep Shadow | High | Small | Closely packed | Least illuminated areas | Crevices, folds, under chin |
| Mid-Tone Shading | Medium | Small | Evenly spaced | Partial light exposure | Cheeks, shaded skin areas |
| Light Highlight | Very Low | Small | Widely spaced | Areas hit directly by light | Reflections, highlights on glass |
| Rough Texture | Medium to High | Medium | Slightly irregular | Uneven surfaces | Tree bark, stone, cloth folds |
| Smooth Transition | Gradual (low to high) | Small | Blending density | Soft shifts between values | Curved surfaces like cheeks or fruits |
| Sense of Distance | Low | Very Small | Sparse and delicate | Fading background or depth illusion | Hills, distant trees in landscape |
Find stippling art pen
Final Thoughts: The Joy of Dot by Dot
Stippling is a rewarding, introspective, and elegant art form. It encourages the artist to slow down, observe carefully, and embrace the smallest actions to produce breathtaking results.
By understanding the best tools, mastering stippling techniques, using the right paper, and following key guidelines, you’ll find yourself creating artwork that’s not just rich in detail—but also a testament to the meditative power of dots.
So grab your pen, sit in a quiet space, and embark on a journey of artistic mindfulness. With every dot you place, you’re not just drawing—you’re breathing life into your vision.
✅ Affiliate Disclosure
This post may contain affiliate links. If you click on one and make a purchase, I may receive a small commission at no extra cost to you. As an Amazon Associate, I earn from qualifying purchases. I only recommend tools and supplies I trust and use for my own art projects.
🎨 About Me
Hi, I’m Sujith — a content creator and art enthusiast with a passion for exploring unique drawing techniques. With hands-on experience in using stippling art pens for illustration and design, I help fellow creators choose the right tools to enhance their creative journey. Whether you’re into detailed ink drawings or just getting started with pointillism, you’re in the right place.