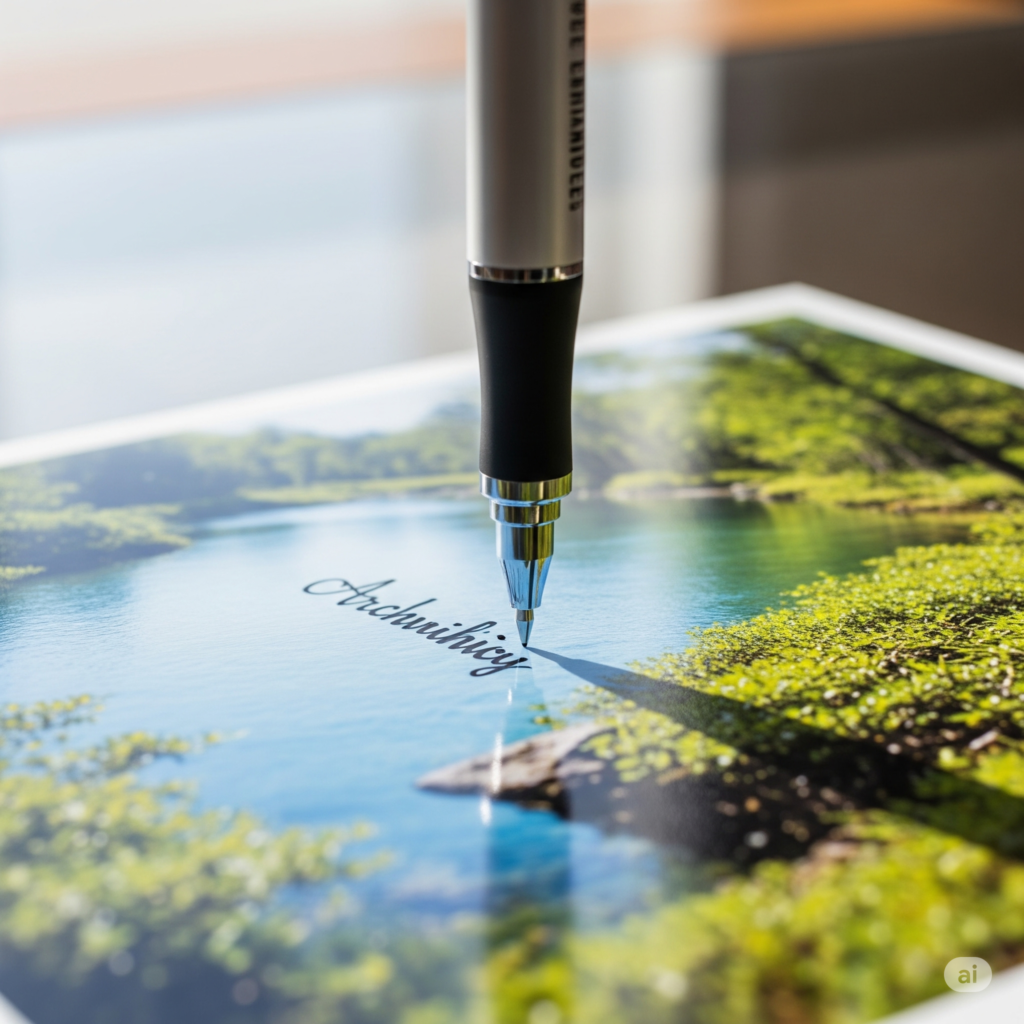
Preserving memories through printed photographs is a cherished practice. But labeling them—especially glossy photos—requires care. Writing on photo backs with the wrong tool can lead to smearing, permanent damage, or even ink transfer to nearby prints. If you’re an archivist, scrapbooker, photographer, or simply someone who values printed photos, knowing how to write on glossy surfaces correctly is essential.

Find your pen for photo online
✍️ Why Writing on Glossy Photos Can Be Tricky
Glossy or resin-coated (RC) photo papers have a smooth, non-absorbent surface. When you use traditional pens or markers, the ink tends to sit on top of the surface, causing:
- Long drying times
- Smearing
- Ink transfer to other photos
- Surface scratching with pressure
That’s why the tools and methods used matter more than you think.
📸 Choosing the Right Tools: Pencils vs Pens
| Tool Type | Best Used For | Surface Compatibility | Advantages | Drawbacks |
|---|---|---|---|---|
| #2 Pencil (HB) | Fiber-based photo backs | Paper-like, older photos | Reversible, inert graphite | Doesn’t show on glossy |
| 4B or 6B Pencil | Glossy photo backs | Slick or RC papers | Darker mark with light pressure | Can smear slightly |
| Standard Pen/Marker | Not recommended | None | None | Smears, bleeds, damages photo |
| Archival Pen (e.g., Sakura Pigma Micron) | Labeling RC/glossy backs or enclosures | Glossy, matte, paper | Acid-free, pigment-based, smudge-resistant | May still smear slightly on slick surfaces |
| Zig Photo Signature Pen | Glossy photo backs | RC papers | Dries quickly, archival-safe | Limited availability |

Find your pen for photo online
🛠️ What Makes a Pen or Pencil Archival-Safe?
To be considered archival-safe, writing tools must meet these criteria:
- Acid-Free: No acid that might deteriorate paper or photo base.
- Pigment-Based Ink: More stable over time than dye-based.
- Fade-Resistant: Won’t degrade under light or air exposure.
- Non-Bleeding: Does not soak through or affect image side.
- Smudge-Proof: Especially crucial for glossy or coated surfaces.
✏️ Writing Techniques to Avoid Pressure Transfer
Even if you use the right writing tool, how you write matters. Writing with too much pressure can lead to:
- Visible indentations on the image side
- Cracked coating on glossy paper
- Permanent damage on delicate prints
Tips:
- Write near the edges rather than center.
- Use light, even pressure.
- If possible, write on a soft pad to avoid hard backing pressure.
💡 Alternatives to Writing Directly on Photos
Avoiding direct contact with the photo is the safest preservation method. Here are better options:
| Alternative Method | Description | Why It Works |
|---|---|---|
| Acid-Free Inserts | Paper insert placed in envelope | Allows labeling without touching photo |
| Caption Pockets | Transparent sleeve with a writing area | Keeps writing separate and safe |
| Archival Envelopes | Labeled outside before photo insertion | No direct contact, prevents pressure transfer |
| Digital Scanning + Metadata | Label photos digitally via software | No physical writing required |

Find your pen for photo online
Here are few products to help you label photos responsibly:
1. Sakura Pigma Micron Pen Set
- Pigment-based, archival ink
- Acid-free and waterproof
- Fine tips for precision
2. Zig Photo Signature Pen
- Designed for slick, photo-safe surfaces
- Quick-drying and smudge-resistant
3. Tombow Mono Drawing Pencil Set (4B–6B)
- Soft graphite for better adhesion on glossy backs
- Minimal pressure required
4. Print File Archival Envelopes
- Acid-free, lignin-free storage
- Writable and protective
⚠️ Common Mistakes to Avoid
| Mistake | Why It’s a Problem |
|---|---|
| Using a Sharpie | Solvent-based ink bleeds or transfers |
| Writing on the image side | Irreversible damage to photo front |
| Writing too hard | Causes visible indentations |
| Using paper clips or sticky notes | Leaves residue or impressions |
| Skipping drying time | Increases risk of smudging |
🧼 Testing Before Writing
Always test your pen or pencil on a small, inconspicuous area of the photo or a similar scrap material.
- Let it dry for at least 24 hours.
- Rub gently with a clean cloth.
- Check for smearing or ink lift.
🗂️ Storing Photos Correctly After Labeling
Once labeled, store your photographs in:
- Cool, dry, and dark environments
- Archival-safe boxes or sleeves
- Vertical orientation, if possible, to prevent pressure buildup
Add silica gel packets to storage boxes to manage humidity.
✅ Final Takeaway
Writing on glossy photos is not something to take lightly if you’re concerned about long-term preservation. The right tools—combined with light technique and safe storage—can make all the difference.
Best Practices Summary:
- Use 4B or 6B pencils on glossy backs
- Choose archival pens like Sakura Pigma Micron or Zig Photo Signature
- Avoid writing with Sharpies or ballpoint pens
- Write on enclosures, not photos, when possible
- Use acid-free materials and proper storage methods
Preserve your family history, your professional photography, or your scrapbook memories the right way. Armed with the right knowledge and tools, your prints can last for generations to come.
🖊️ Affiliate Disclosure
This post may contain affiliate links. If you purchase through these links, I may earn a small commission at no extra cost to you. As an Amazon Associate, I earn from qualifying purchases. This supports the site and helps us bring more helpful content to you.
🧑💼 About Me
Hi, I’m Sujith — a content creator, product researcher, and photography enthusiast. I’ve worked with archivists, tested numerous archival tools, and written extensively about photo preservation. My goal is to help you protect your memories with reliable, research-backed information. When not writing, I’m testing new gadgets and shooting creative product photography.